Want to jazz up your space with some hanging planters? Start by picking fun materials like macramé, wood, or even repurposed teacups! Choose plants that fit their light spots—petunias thrive in sunny nooks, while ferns love the shade. Make sure your containers have drainage holes; nobody likes soggy roots! Then, hang them safely with a creative twist—think colorful macramé or sleek metal chains! Stick around, and you’ll uncover more tips to make your planters pop!
Choosing the Right Materials
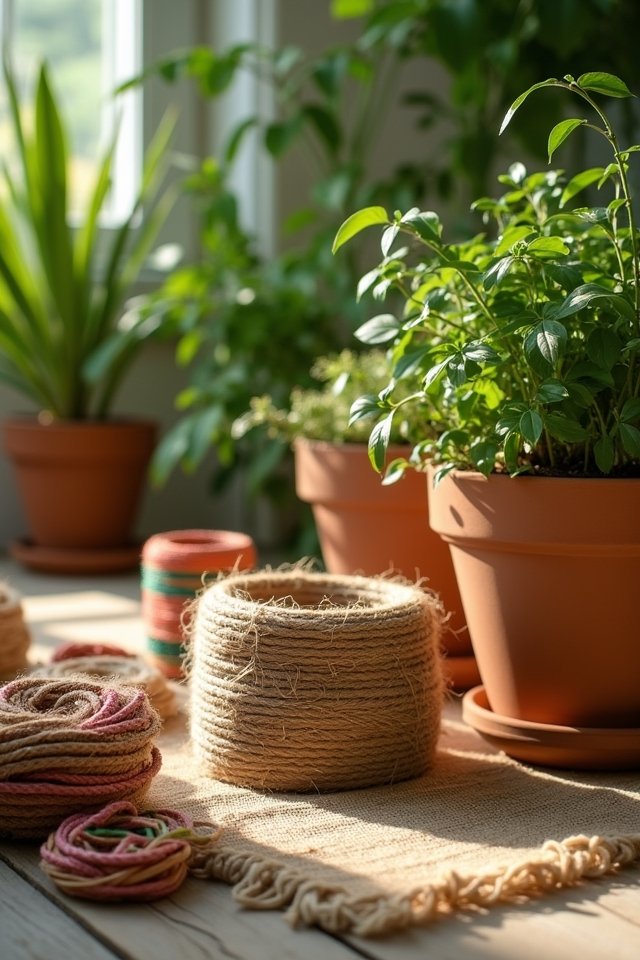
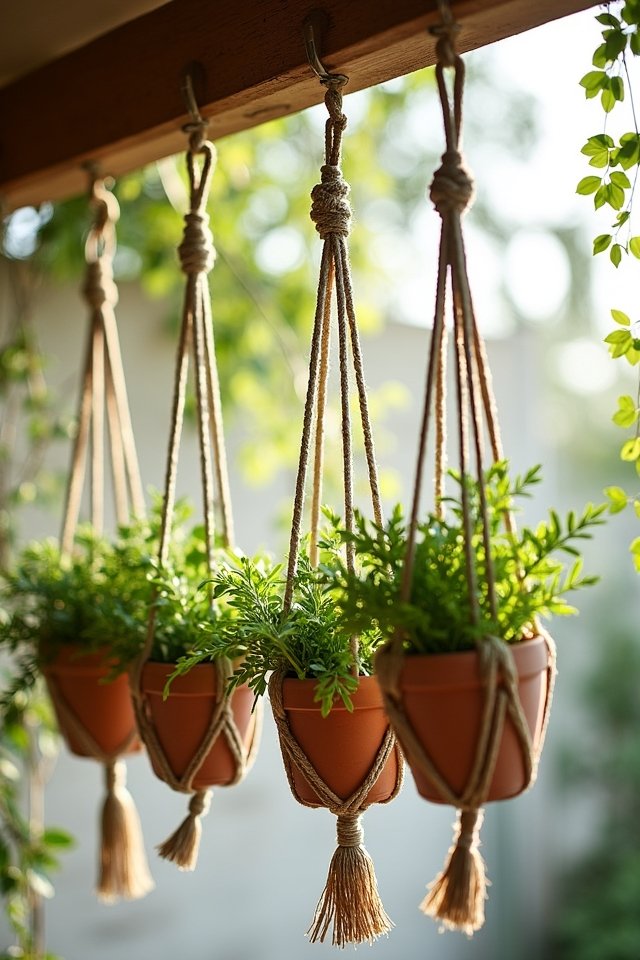
When you’re diving into the world of DIY hanging planters, the materials you choose can make or break your project! Think about materials types like macramé, wood, or even repurposed teacups! Each option brings its own charm, transforming your space into a botanical delight. If you’re all about sustainability options, bamboo and recycled plastics are not just eco-friendly, they’re stylish too! Imagine showcasing vibrant greenery draping elegantly from a quirky, upcycled creation! Isn’t that irresistible? Don’t forget about drainage; consider pots with holes or slotted wood to keep your plants cozy, yet dry. So, grab those innovative ideas, release your creativity, and let’s craft something unforgettable for your home! Your hanging planters will be the talk of the town!
Selecting Your Plants
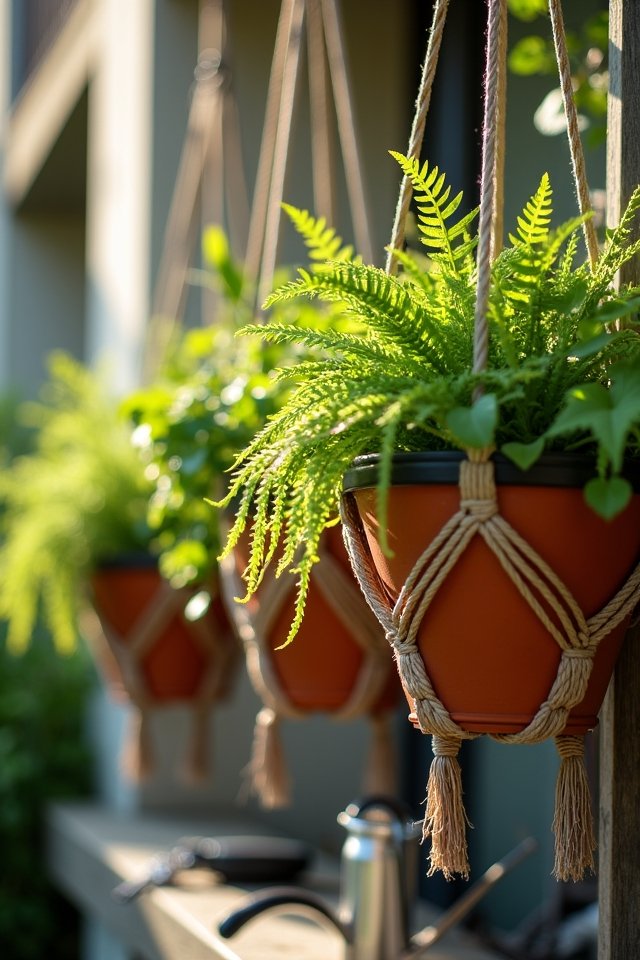
Your choice of plants can truly elevate your DIY hanging planters to a new level of charm and vibrancy! Think about the thrill of cascading vines or bursts of colorful blooms—who wouldn’t want that? Start by considering plant types that suit your space. If you’ve got bright, sunny spots, try sun-lovers like petunias or succulents; they’ll soak up those rays like a beachgoer on vacation! For shadier hangouts, explore ferns or pothos, which thrive in low light and can turn a drab corner into a lush oasis. Don’t forget about their light requirements; you wouldn’t want to subject a delicate orchid to harsh afternoon glare! Get creative, mix textures, and let your green thumb shine!
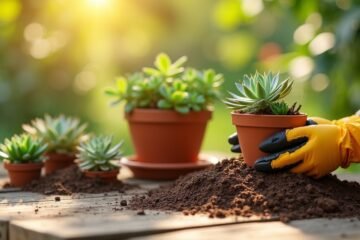
Preparing the Planter Base
As you gear up to create your stunning DIY hanging planters, getting the base just right is essential—think of it as laying the foundation for your green masterpiece! A solid plant base guarantees your blooms thrive beautifully. Here’s what you’ll need to take into account:
- Material: Choose a container that suits your style—ceramic, metal, or even upcycled bottles!
- Size: Make sure it’s appropriately sized for your plants to grow comfortably.
- Drainage Options: Think about holes or a layer of rocks to prevent soggy roots.
- Soil: Use a lightweight, well-draining mix to keep your plants happy.
- Aesthetic Touch: Paint or decorate your base to match your vibrant decor!
With these elements in place, your plants will be ready to flourish!
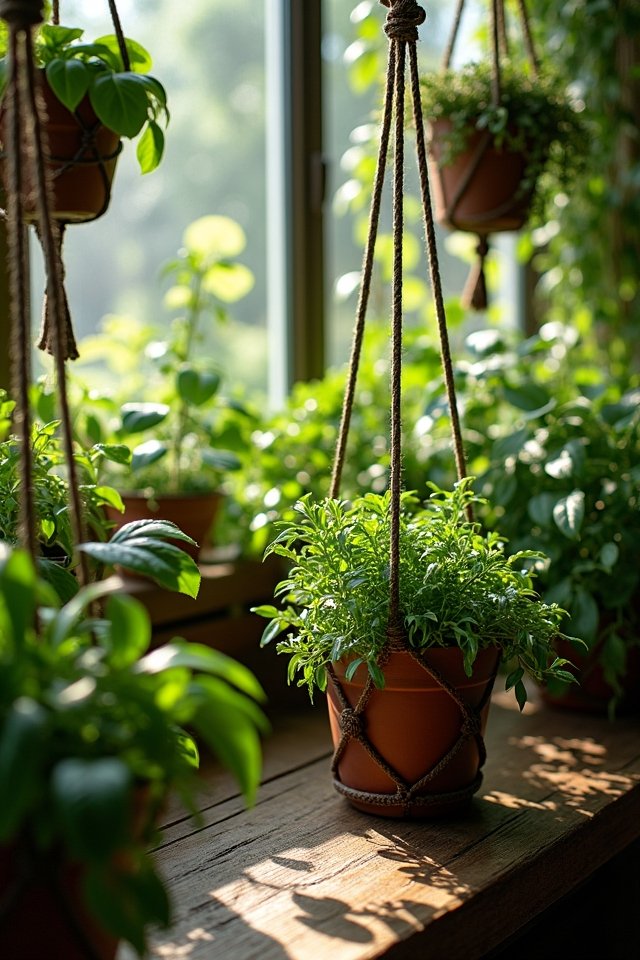
Designing Your Hanging Mechanism
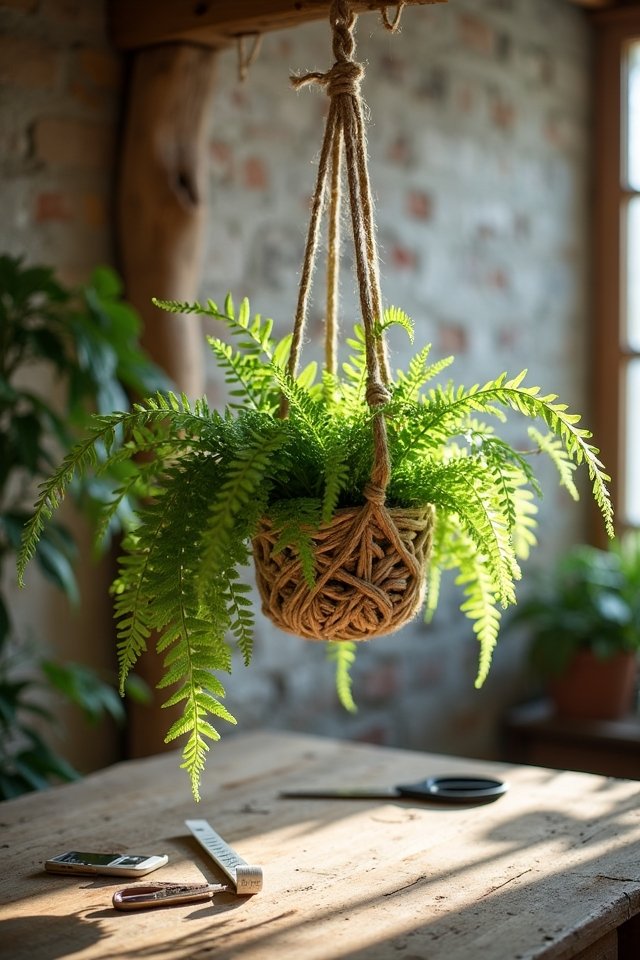
While many might underestimate its importance, designing your hanging mechanism can truly make or break your planter display! Choosing the right mechanism styles, like a macramé hanger or sleek metal chains, can elevate your design. Think about the weight considerations too! Too heavy a planter on flimsy twine? That’s a recipe for disaster! You could end up with a floral floor show instead of a stunning centerpiece!
Consider how the light will hit your plants—an angled design can create dramatic shadows, enhancing your space. Don’t be afraid to mix and match materials, like combining wood with colorful rope for a boho vibe. Your creativity can turn something simple into a delightful statement piece! So, let your imagination run wild!
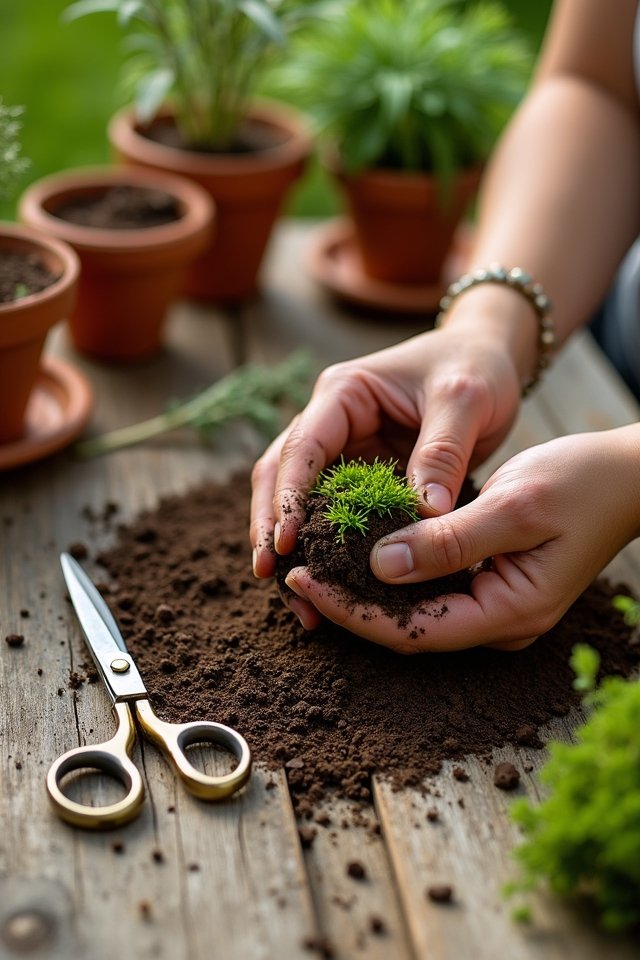
Assembling the Planter
Once you’ve settled on the perfect hanging mechanism, it’s time to get your hands dirty and assemble your planter! Grab your tools and let’s plunge into some engaging assembly techniques. Here’s what you’ll need:
- A sturdy pot or container
- Twine or chain for hanging
- Drill for holes (if needed)
- Scissors for cutting
- A measuring tape to keep it precise!
Start by marking your container where the holes will go, ensuring even spacing. Next, drill those holes (carefully!), and thread your twine or chain through. Once that’s done, knot it securely—like a lifebuoy for your plants! You’re just a few steps away from a dazzling DIY creation! Remember, creativity is key. Now, are you ready to elevate your space?
Planting and Arrangement
Let’s dive right into the exciting world of planting and arrangement, because this is where your creativity truly blossoms! Think of your hanging planter as a mini masterpiece waiting to be revealed. Try layering plants using fruitful planting techniques like “thriller, filler, thriller.” For example, choose a tall, striking plant like a snake plant as the centerpiece, surrounded by lush ferns that spill over the edges, creating a delightful waterfall of greenery!
Now, let’s chat about arrangement styles. You can create a charming vertical garden by staggering heights or mix colors for a vibrant explosion! Remember, balance is key—make sure no one plant outshines the rest. After all, each plant deserves its moment in the spotlight! Ready, set, grow!
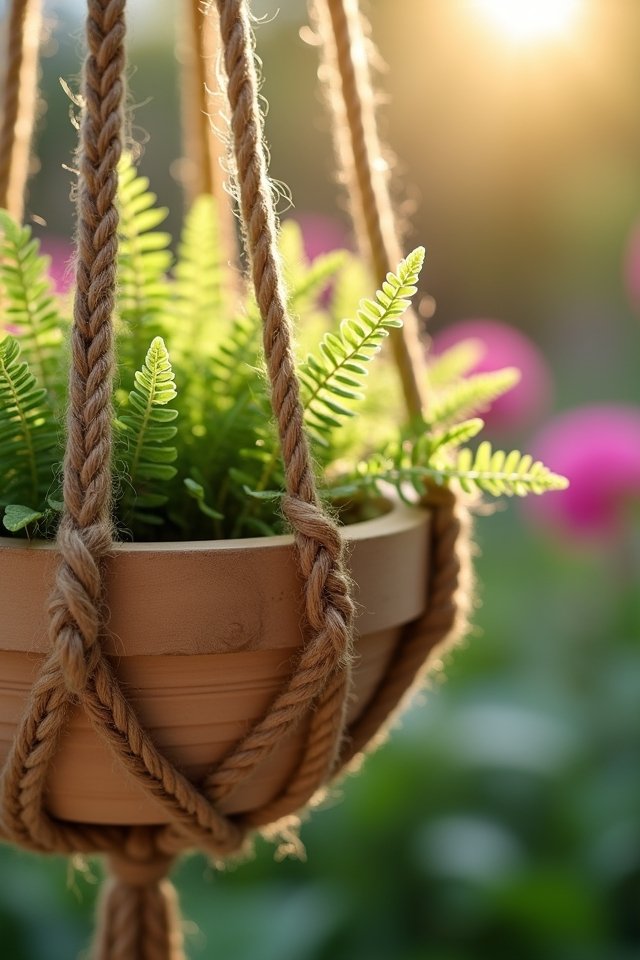
Hanging Your Planter Safely
After you’ve arranged your plants to create that mini masterpiece, it’s time to hang your planter with care, guaranteeing it’s safe and secure. You wouldn’t want it crashing down like a clumsy toddler, right? Consider these tips for successful hanging:
- Choose the right spot: Find a sturdy ceiling hook or beam.
- Watch the hanging heights: Verify it’s at a comfortable eye level.
- Check weight distribution: Distribute heavier plants evenly for balance.
- Use strong cord or chain: Opt for durable materials that won’t fray.
- Secure it well: Double check everything is tightly fastened.
Make your space a personal paradise! 🪴 Each step is vital; a secure home for your plants means fewer worries for you!
Maintenance Tips for Hanging Planters
To keep your hanging planters thriving and looking fabulous, you’ll need a little TLC! Start with a solid watering schedule—think of your plants as thirsty friends enthusiastically waiting for a drink. When it’s hot, water every couple of days; if it rains, you might need to hold back!
Don’t forget about pest control! Keep an eye out for any sneaky intruders like aphids or spider mites. A gentle spray of soapy water can send them packing.
Lastly, deadheading wilted flowers not only improves appearance but also encourages new blooms! Treat your hanging beauties like the stars they are; with a little care, they’ll dazzle in your space. Ready to get your hands dirty? Let’s do this!
Frequently Asked Questions
Can I Use Recycled Materials for My Hanging Planter?
Did you know that over 60 million tons of plastic waste end up in U.S. landfills every year? You can totally use recycled materials for your hanging planter! Think old tin cans, colorful fabric scraps, or even wine bottles. It’s all about creative repurposing! Just imagine your rusty can sprouting lush greenery! Not only are you saving the planet, but you’re also crafting a unique piece that reflects your style. How fun is that?
How Do I Prevent Pests in My Hanging Planters?
To keep pests away from your hanging planters, you’ll want to adopt natural repellents! Think about using neem oil or a mix of dish soap and water—like a shield against tiny invaders! You can also introduce beneficial insects, like ladybugs, turning your garden into a pest-fighting superhero! And remember, healthy plants are less appealing to pests, so nurture them with love! Who knew gardening could feel like a thrilling adventure? Happy planting!
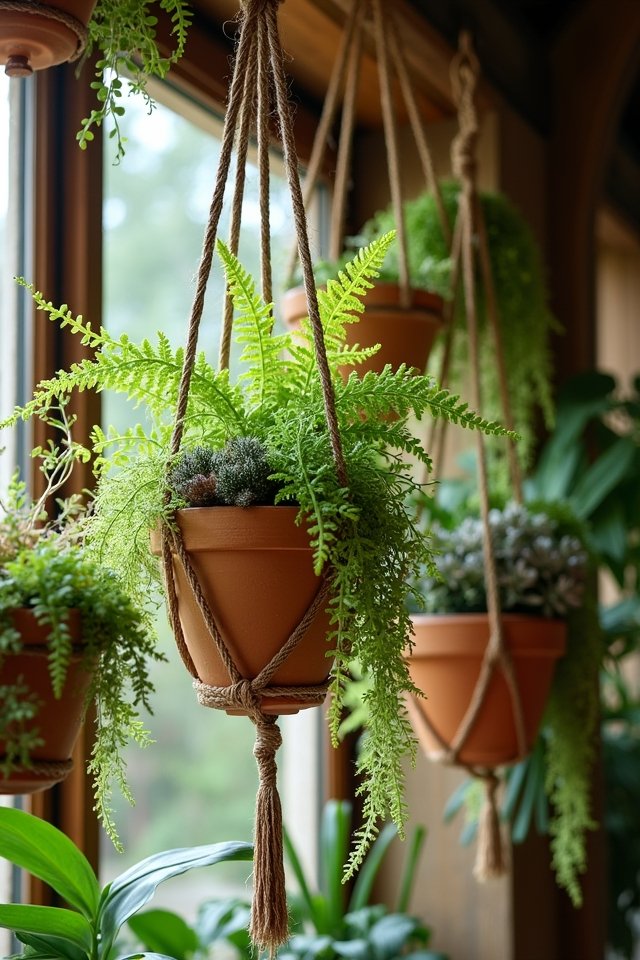
What Is the Best Location for My Hanging Planter?
Finding the perfect spot for your hanging planter is like matchmaking for your plants! Seek out areas with bright, indirect sunlight to keep those leaves smiling. Make certain there’s good air circulation, too! Avoid places that pool water, since drainage is key—like a bad date, excess water leads to trouble! Think near a window with a bit of shade or under a covered porch. Your plants will thrive, and you’ll enjoy a vibrant green touch!
Can I Change Plants in My Hanging Planter Seasonally?
Absolutely, you can totally do seasonal swaps in your hanging planter! Think about swapping vibrant petunias in spring for stunning fall mums. Just make sure your plants are compatible, like sun-loving beauties together! It’s like a fashion show for plants—each season shows off its own style! Don’t forget to check their watering needs! Can you imagine a colorful cascade of blooms brightening your space? Now that’s innovation in greenery! Happy planting!
How Do I Care for Indoor Vs Outdoor Hanging Planters?
Did you know that nearly 70% of indoor plants thrive better with proper watering? When caring for indoor hanging planters, keep your soil moist but not soggy. Indoor watering ideally happens once a week. For outdoor planters, those sun-loving beauties need at least 6 hours of sunlight daily! Think of them as sunbathers—too much shade and they’ll sulk. Give them a good drink during hot weather, and they’ll bloom like confetti!