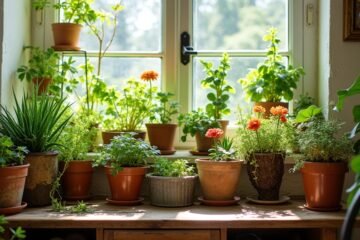
Ready to start your indoor herb garden today? Find a sunny spot by a south-facing window where your plants can soak up at least six hours of light each day! Grab some cute pots—terracotta’s a classic choice—then fill them with fresh soil that drains well. Now, picture plucking fragrant basil or zesty chives right from your kitchen! Isn’t that delightful? Let’s dive deeper into essential tips for thriving herbs and maximize that fresh flavor!
Choosing the Right Location for Your Herb Garden
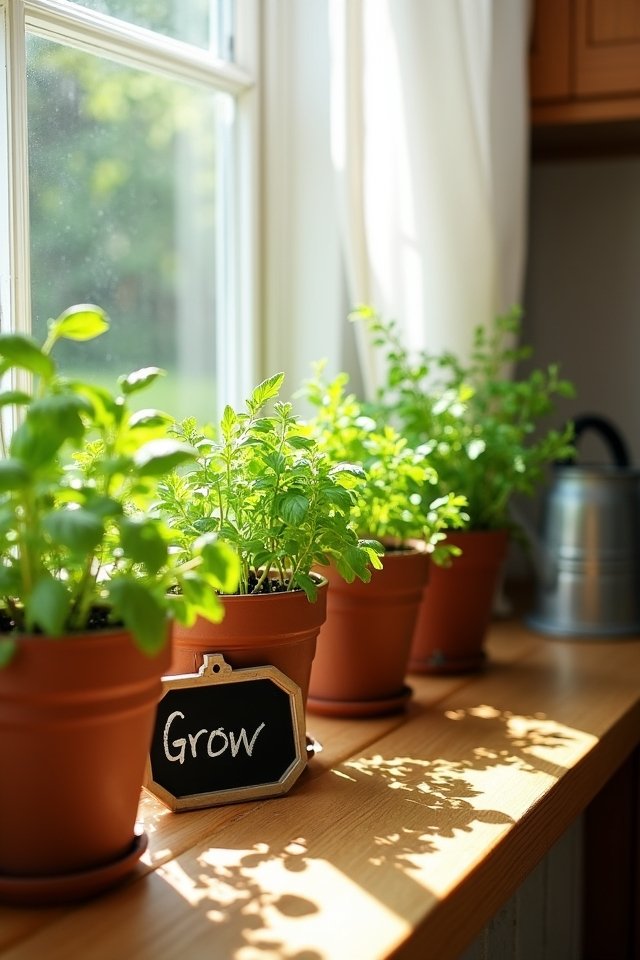
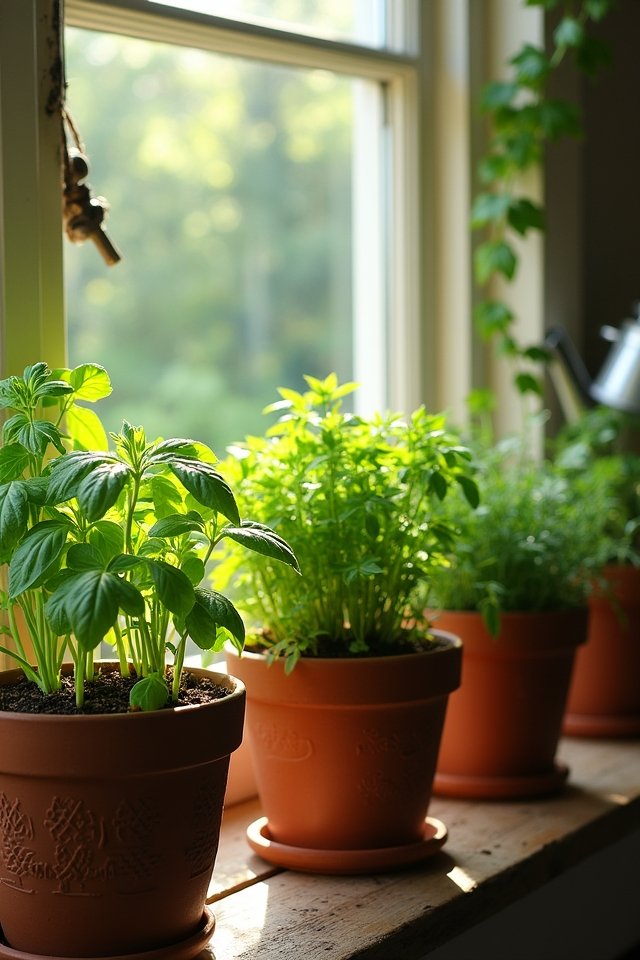
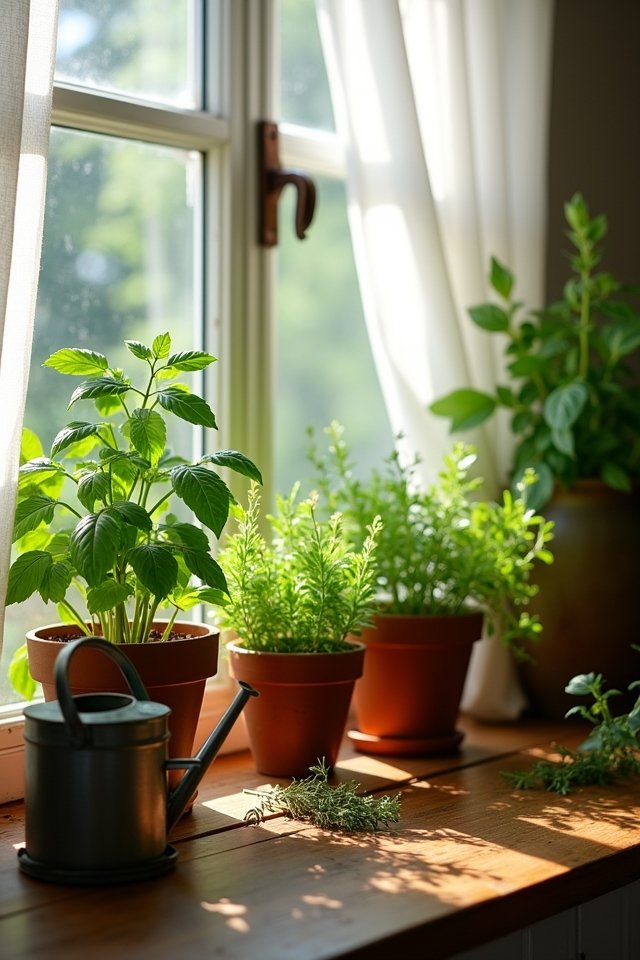
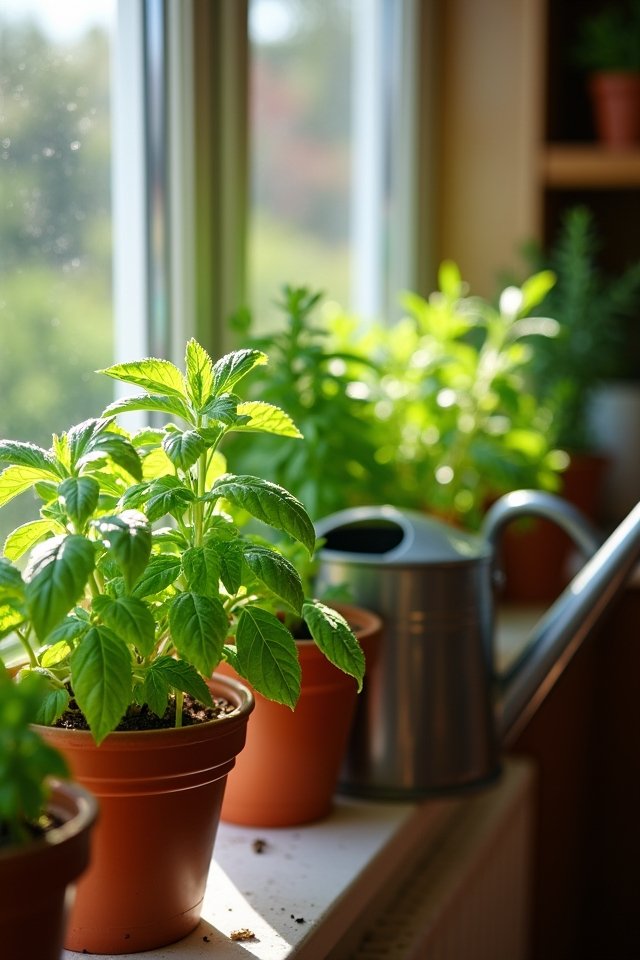
Choosing the right spot for your indoor herb garden can make all the difference—think of it as picking the best seat at a concert! You wouldn’t want to miss the action, right? Aim for a place with abundant light exposure; a south-facing window is like a VIP section for your herbs! Not only do they need sunlight, but temperature control is essential, too. Cozy spots between 65°F to 75°F will keep your herbs thriving. Avoid drafty windows or super-hot stoves, as they can stress your greens out. Picture vibrant basil and fragrant cilantro basking in ideal conditions! So, scout out that best spot; your herb garden will thank you with bountiful growth and delightful aromas! Let’s get growing!
Selecting the Best Containers
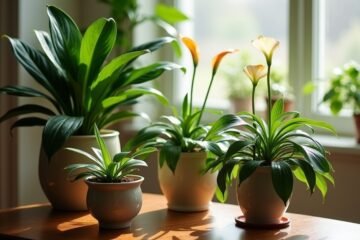
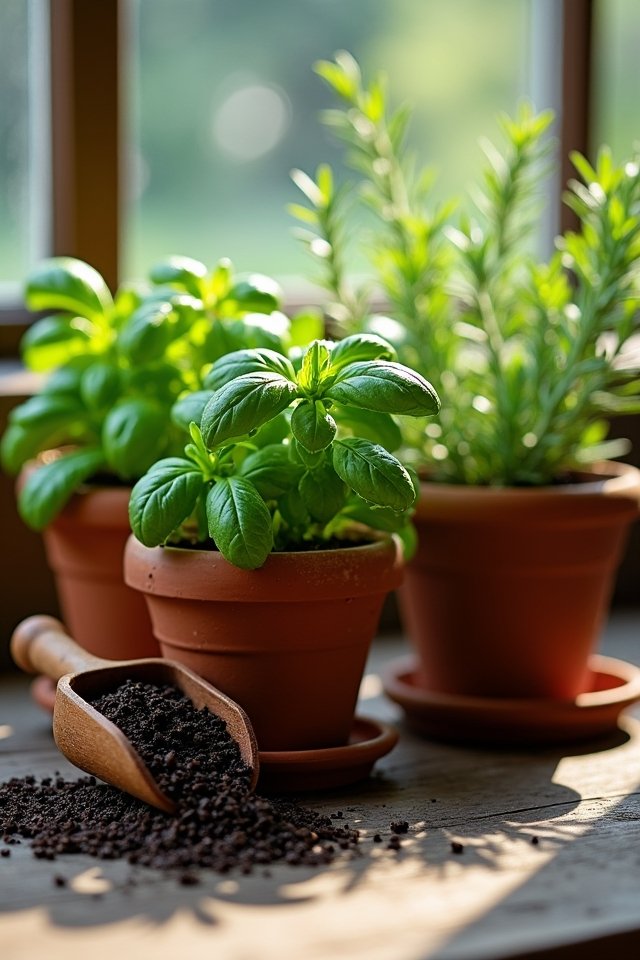
When it comes to selecting the best containers for your indoor herb garden, you’ll want to think of your pots as the cozy homes for your green friends. Choose container materials that not only suit your style, like terracotta or sleek ceramic, but also allow for excellent airflow and drainage. Isn’t it exciting to match your pots with your decor? Next, consider container sizes—herbs thrive when they have space! Opt for smaller pots, around 6 to 8 inches, for shallower roots, while larger ones can accommodate robust growth. Picture vibrant basil, thyme, and parsley nestled comfortably together. Who knew homemaking could be so botanical? So grab those pots, mix some style with a dash of function, and let those herbs feel right at home!
Deciding on Soil and Drainage Options
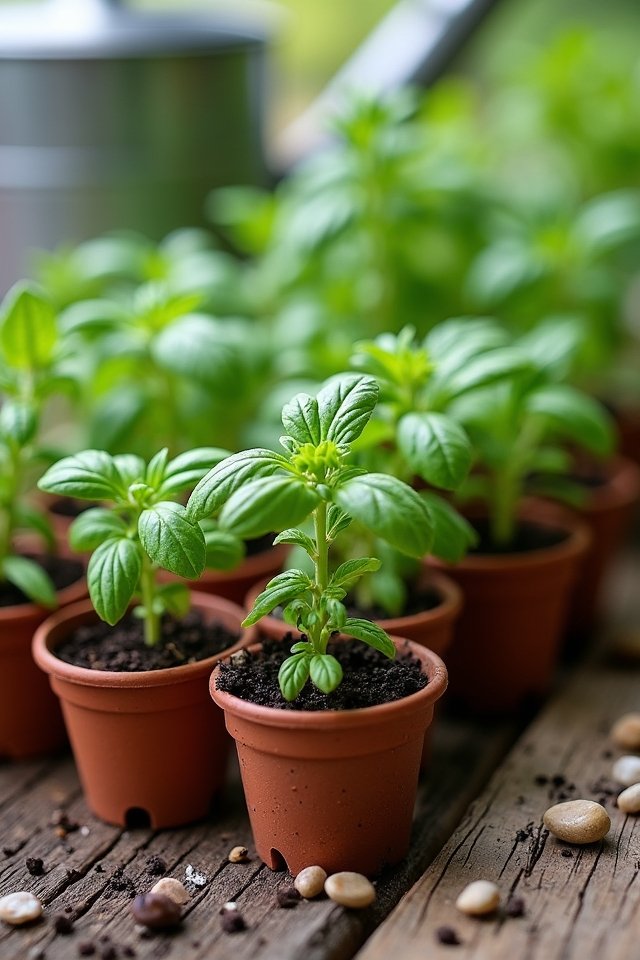
You’ve got your stylish pots ready to house your vibrant herbs, but don’t forget about the foundation of their cozy homes—soil and drainage! Choosing the right soil types is essential for healthy growth. Think of it as giving your herbs a comfy bed to thrive in. Here are four innovative options to take into account:
- Potting mix – A blend of peat, pine bark, and perlite, ensuring your herbs have both nutrients and aeration.
- Coconut coir – A sustainable alternative that retains moisture while allowing excellent drainage.
- Perlite – Lightweight and airy, perfect for improving drainage solutions in denser soils.
- Worm castings – Rich in nutrients, these tiny wonders can boost your plants’ health.
Get your herbs off to a brilliant start!
Picking the Herbs to Grow
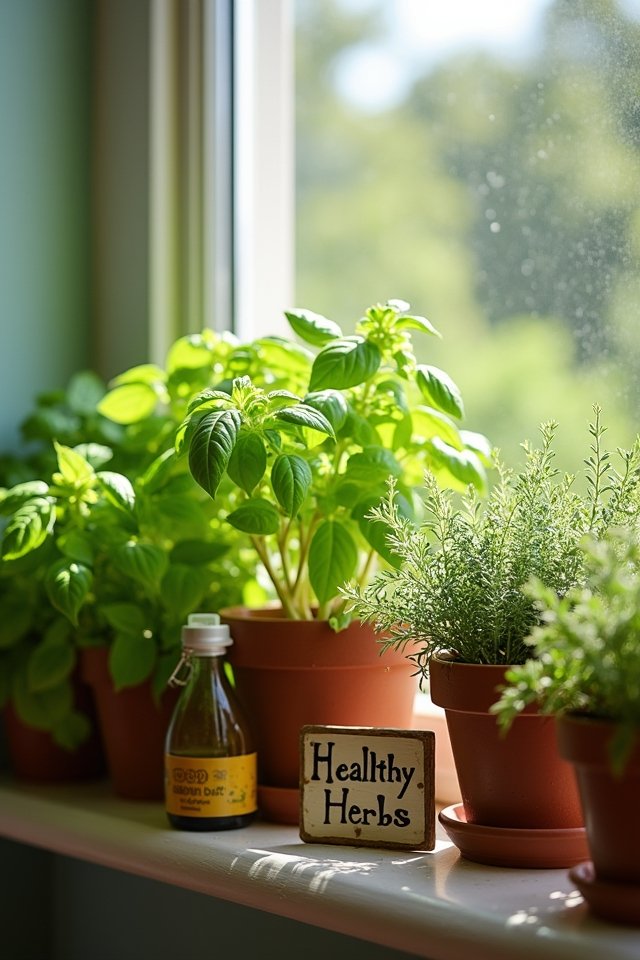
Have you ever dreamed of reaching for fresh basil or snipping a sprig of thyme right from your kitchen? Picking the right herb varieties can elevate your cooking to new heights! Each herb has its unique flavor profile. For example, vibrant basil brings a sweet, peppery zing, perfect for pasta sauces, while earthy rosemary adds a warm depth to roasted dishes. Consider growing mint for invigorating teas or cilantro, which brightens up salsas with a burst of zest! To keep things exciting, mix these herbs to create your signature blends. Just imagine the joy of crafting dishes with herbs you nurtured yourself! So, don’t hold back—choose those tantalizing herbs that spark joy and creativity in your culinary adventures!
Understanding Light Requirements
Understanding light requirements for your indoor herb garden is crucial, since sunlight acts like a magic potion for these vibrant plants! Without the right amount of light, they won’t thrive. Here’s what you need to know:
- Natural sunlight: Place your herbs in a south-facing window, where they’ll soak up at least 6 hours a day.
- Rotate regularly: Turn your pots every week to guarantee even light exposure; nobody likes a lopsided plant!
- Watch for signs: If leaves start yellowing, they might crave less direct sun, so adjust accordingly.
- Artificial lighting: For those lacking natural sunlight, consider using LED grow lights for 12-16 hours daily—like a mini sun!
Light is truly your herbs’ best friend—so give them the love they need!
Watering Techniques for Indoor Herbs
Watering your indoor herbs is like giving them a revitalizing drink on a hot day—they’ll perk up and flourish with a bit of hydration! To keep them happy, monitor your water frequency based on their unique needs. Herbs like basil thrive in slightly moist soil, while rosemary prefers to stay on the drier side; it’s all about finding that sweet spot! A simple trick? Stick your finger into the soil to check moisture levels. If it feels dry an inch down, it’s time to water. Water your herbs in the morning, so they can soak it up and awaken with the sun! Remember, overwatering is a slippery slope—be careful not to drown your little green friends!
Fertilizing Your Herb Garden
Your herbs deserve a little extra love, and that’s where fertilizing comes into play! To guarantee a nutrient balance that supports robust growth, try these innovative tips.
- Use organic fertilizers like fish emulsion – it’s like a spa day for your plants!
- Consider compost tea, a nutrient-rich brew that works wonders.
- Apply balanced fertilizers every 4-6 weeks, giving your herbs a feast when they need it most.
- Keep an eye on your plants – if they look pale, it’s time for a boost!
Pest Management for Healthy Herbs
While you nurture your indoor herb garden, pesky pests can sometimes invite themselves to the party! Don’t panic—fighting back can be as simple as employing natural predators like ladybugs or lacewings. These little champions love munching on aphids and thrips, turning your garden into a pest-fighting arena! When those annoying bugs just won’t budge, think about using organic pesticides made from neem oil or insecticidal soap. They’re gentle on your plants but tough on invaders. You might even mix a diluted solution of dish soap and water to spray directly on those troublemakers! Remember, a healthy herb garden thrives not just on love and sunshine, but also on smart pest management techniques. Let’s keep those herbs thriving and delicious!
Harvesting Tips for Maximum Yield

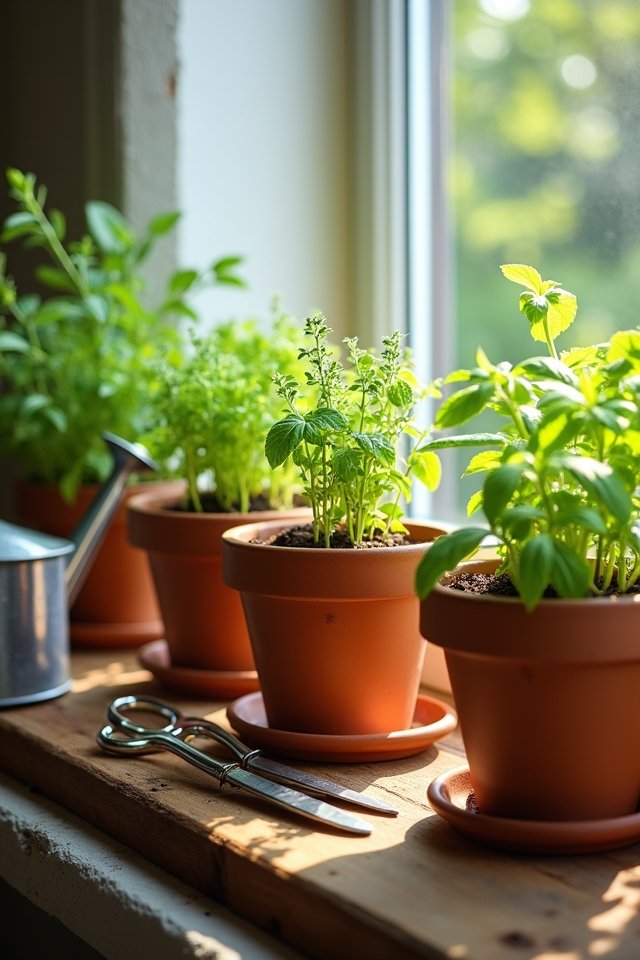
Once you’ve tackled those pesky pests, it’s time to reap the rewards of your hard work with some savvy harvesting techniques! To maximize your herb growth and guarantee you’ve got the freshest flavors, pay attention to these handy tips:
- Know Your Timing: Harvest in the morning for peak aroma.
- Cut Smart: Snip just above a leaf node to promote bushy growth.
- Stagger Your Harvest: Trim a little from each plant; don’t take it all at once!
- Keep It Clean: Use sharp, sterilized scissors to avoid any herb drama!
With these strategies, you’ll savor your herbs’ glorious taste while keeping the plants thriving and happy. Happy harvesting!
Creative Uses for Your Fresh Herbs
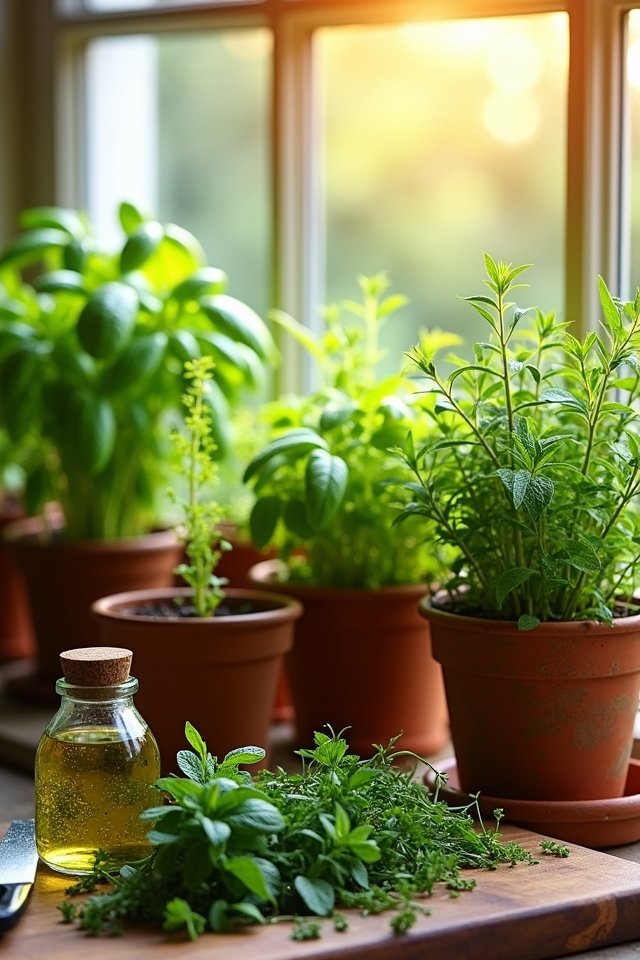
Herbs aren’t just for garnish—they’re the secret weapon in your culinary arsenal! Imagine bright basil elevating a simple tomato salad into a taste explosion. How about using rosemary to make aromatic infusions for your roasted chicken? Fresh herbs can transform dishes in the most surprising ways! Want to impress? Create a thyme-infused olive oil to drizzle over vegetables, or whip up a minty pesto that’ll make your pasta sing. Don’t stop at food; try adding herbs to your beverages! Lavender and lemon balm can create invigorating, fragrant iced teas. With these innovative culinary applications, your indoor herb garden isn’t just plants in pots; it’s a doorway to a world of flavor and creativity. So, what will you whip up next?
Frequently Asked Questions
How Long Does It Take for Herbs to Grow Indoors?
Herb growth indoors can be a delightful journey! Most herbs take about 2 to 6 weeks to sprout. For instance, basil usually pops up in about 7 to 14 days, while rosemary might take a bit longer. Just think of those vibrant greens adding zest to your meals! With a little patience and care, you’re on your way to a thriving indoor garden. Who knew you could harvest culinary magic right from your kitchen?
Can I Grow Herbs Without Natural Sunlight?
Absolutely, you can grow herbs without natural sunlight! Think of artificial lighting as your indoor garden’s superhero cape. LED grow lights can create a sun-like environment, bathing your herbs in vibrant energy. Position them about 12-24 inches above your plants for maximum support. With the right setup, your kitchen can transform into a lush herb oasis! Who wouldn’t want fresh basil or mint at arm’s reach? Let those herbs shine, even indoors!
What Kitchen Tools Do I Need for Indoor Herb Gardening?
For a thriving indoor herb garden, you’ll need a few essential kitchen tools! Grab some cheerful herb containers that fit your style, because aesthetics matter! Choose soil types like potting mix or well-draining soil to keep your herbs happy. Don’t forget a sturdy pair of scissors for those snips of deliciousness. With these tools, you’ll be crafting culinary magic in no time! Ready to transform your kitchen into a fragrant herb haven? Let’s get started!
Are Indoor Herbs Safe for Pets?
Wondering about your furry friends and those aromatic herbs? While many indoor herbs like basil and parsley are generally safe, some, like chives and rosemary, carry a risk of herb toxicity. Always check before adding them to your indoor paradise! Keeping your pet safe should be your top priority. Think of it like playing a game of tag—avoid the “it” herbs and choose your botanical buddies wisely! Your pets will thank you!
How Do I Store Harvested Herbs for Later Use?
Storing your precious herbs can be a breeze! Try drying techniques—hang bunches upside down in a dark, airy space. It’s like giving your herbs a cozy little retreat! Or, if you prefer a frosty approach, chop them up, pop them in ice cube trays, fill with water, and freeze. It’s like creating herb-flavored icebergs for your future culinary adventures! Whichever method you choose, your herbs will stay fresh and full of flavor!